Posts mit dem Label Anleitungen werden angezeigt. Alle Posts anzeigen

Montag, 6. August 2018

Stempelfrida's Copic colour combinations

Ihr liebt Copics? Dann kennt Ihr sicherlich auch die folgende Szene: Ihr habt einen Stempel abgestempelt, den Ihr gerne kolorieren möchtet und Ihr nehmt Euch ein kleines Stück Papier und probiert Farben aus, die Ihr verwenden möchtet. Die besondere Herausforderung liegt hierbei in den Farbabstufungen und den Kombinationen, die Ihr verwenden möchtet. Denn, zwar sind die Stiftkappen in den Farben gefärbt, die der Stift hergeben soll, doch in vielen Fällen wirkt die Farbe dann auf dem Papier doch ganz anders. Wie oft habe ich da schon Überraschungen erlebt! Vielleicht habt Ihr Euch auch, wie ich, die vielen Farben auf eine Farbkarte gemalt und verwendet diese als erste Hilfe für die Auswahl. Aber, was man damit nicht machen kann ist, die Farben direkt nebeneinander zu halten. Also hilft das Skizzenpapier. Und das macht Ihr vermutlich, jedes mal auf´s Neue. Das soll sich jetzt ändern. Mich hat ein toller Post von Yana Smakula (KLICK) dazu inspiriert, Legenden mit Farbkombinationen zu erstellen. Dafür habe ich mir als erstes Farbringe gebastelt. Diese dienen dazu, dass ich mir meine Farben direkt nebeneinander halten kann. Ich habe Ovale ausgestanzt und ein Loch hinein gestanzt. Auf die Ovale habe ich alle meine Farben abgemalt und mit der Farbkennung beschriftet. Nach Farben sortiert habe ich sie dann auf Ringe gefädelt.


You love Copics? Then you surely know the following scene: You have stamped a stamp that you would like to colour and you take a small piece of paper and try out colours that you would like to use. The special challenge lies in the color gradations and the combinations you want to pick. Although the pen caps are coloured in the colours that the pen is supposed to give away, in many cases the colour looks completely different on the paper. How many times was I surprised already! Maybe you have painted the many colours on a colour card and use it as a first guide for your selection. But what you can't do with it is to hold the colours right next to each other. So you create your sketch paper. And that's probably what you do, like me, every time again and again. That's about to change now. I was inspired by a great post by Yana Smakula (CLICK) to create legends with colour combinations. First I created colour rings. These can be used to hold my colours right next to each other. I punched out ovals and punched a hole in them. The I painted and labeled all my colours. Sorted by colour, I threaded them onto rings.


Dann habe ich mir die Ringe genommen und einfach -für mich- schöne Kombinationen zusammen gestellt. Diese habe ich ebenfalls auf Ovale gemalt und nach Farben sortiert auf Karten geklebt. Das könnt Ihr in diesem Foto sehen. Ich wollte gerne einzelne Karten haben für die verschiedenen Farbtöne, so dass ich noch weiter ergänzen kann, denn bestimmt werden noch weitere Kombinationen hinzu kommen.
Then I took the rings and simply put together nice combinations -for me-. I painted them on ovals and glued them to cards sorted by colour. You can see it in this photo. I wanted to have individual cards for the different shades, so that I can add even more, because there will certainly be more combinations coming.


Jetzt werde ich  mir auch mal die Farbkombinationen von Yana vornehmen und auch meine alten Kombinationen zusammen suchen (ich schreibe Euch ja immer in meinen Posts, welche Farben ich benutze). 
Ich hoffe, ich konnte Euch hier einen nützlichen Tip geben und schaut doch auch mal bei Yana vorbei, wie es bei Ihr ausschaut und welche Kombinationen sie so mag.
Now I will look at Yana's colour combinations and also put together my formerly used combinations (I always give you the Copic numbers I use for my projects in my posts).
I hope I could give you a useful tip here and have a look at Yana's site, how hers looks like and what combinations she likes.


Herzliche Grüße / Kind regards
Eure / Yours stempelfrida

Freitag, 13. November 2015

Doktorhut - Graduation hat

Ihr kennt ja sicherlich alle die Explosionsboxen. Letztens wurde ich um eine Karte zum Thema Doktorprüfung gebeten und da kam mir die Idee, mal etwas anderes als eine Karte zu machen. Ich habe einen Doktorhut gebastelt mit dem Grundprinzip der Explosionsbox, aber der Deckel ist etwas aufwändiger gestaltet. Das könnt Ihr auch gut bei anderen Modellen nutzen. So schaut er aus, mein Hut.
Most likely you all know explosion boxes. I was asked lately to make a card for a graduation and then I had the idea to not come with just a normal card, but to create something special. I made a graduation hat with the principle of the explosion box as the basis. The lid is a bit more fancy than on the normal explosion boxes and you can also use this design for other boxes. This is how my hat looks like.


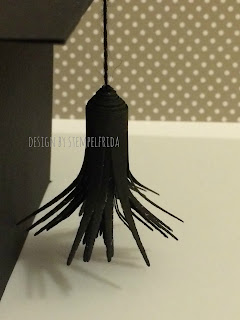
Für das Bömmelchen habe ich eine Zackenstanze genommen, einen Streifen damit gestanzt, doppelseitiges Klebeband drauf geklebt und um den Faden herum gewickelt.
For the pompon I used a die that makes a fringe row. I added double sided glue tape to it and wrapped it around the string.


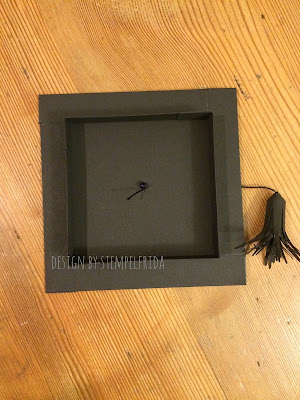
Das Unterteil des Huts sieht so aus. Die Quadrate sind 8x8 cm.
The bottom looks like this. The squares are 8x8 cm.


Das Oberteil ist schon ein wenig aufwändiger. So sieht der Grundriss aus.
The top is a bit more sophisticated. This is how the map looks for it.


Ihr schneidet dann die rot gekennzeichneten Flächen weg und die gelb eingezeichneten Linien werden eingeschnitten.
Cut away the red crossed pieces and cut along the yellow lines.

Und jetzt müßt Ihr das Ganze wie im nächsten Bild gezeigt falten. Die großen Laschen werden an den Deckel geklebt und die kleinen Laschen dienen der Verbindung und Stabilisierung zur Nachbarseite.
Fold as shown in the next picture. The big flaps need to be glued to the top and the small flaps give support to the neighboring piece and are glued to the sides.


Dann schaut das Oberteil von unten so aus.
This is how the top looks from the inside.


Das Innenteil habe ich noch entsprechend der Wünsche dekoriert.
I decorated the inside according to the wishes.


Fröhliches Nachbasteln wünscht die stempelfrida
Stempelfrida wishes happy crafting

Materialliste
Supplies
Stempel / stamps: Sirius Hobby XF002; Text unbekannt / sentiment unknown
Stempelkissen / stamp pad: StazOn jet black
Stanzen / dies and punches: EK Success (Ecken / corners); Ellison 658553 Tapered Fringe

An den folgenden Challenges möchte ich mit meinem Hut teilnehmen.
I would like to join the following challenges with my hat. 
Kreativeinkauf
Challenge #32 - besondere Kartenarten
Night Shift Stamping
Challenge 05.11.15 - Keine Karte

Simon Says Stamp Monday Challenge
Challenge: Create Something beginning with the letter N
In my case: NOT a regular card 

Mittwoch, 4. November 2015

How to create a text matching your stamped image

Kürzlich kam in einer FB Bastelgruppe die Frage auf, wie man denn einen Text in einen Engel hineinbekommt, noch dazu in weiß. Eine Idee war, dass man sich eine Schablone schneidet mit dem Negativ des Motivs und das dann über das gestempelte Motiv legt um den Text anschließend mit VersaMark zu stempeln und dann in weiß zu embossen. Ich hatte da noch eine andere Idee.
Recently there was a question in a FB group how one can get a white text on an angel. One idea was to cut out a mask from the stamp which would cover the outer part so that one can protect the outer parts of the paper when one stamps the text with VersaMark on the image. One would afterwards emboss the text in white. But I had another idea.


Wie die Idee funktioniert verrate ich Euch gleich. Erst einmal möchte ich Euch aber darauf aufmerksam machen, dass auf dem Addicted to Stamps and More Blog heute eine neue Challenge startet. Das Thema lautet CAS, also clean and simple. Diese Karte ist meine Inspiration für Euch. Schaut doch mal vorbei, es gibt auch wieder etwas zu gewinnen.
I will explain in a second how this technique works, but let me first remind you, that a new challenge over at the Addicted to Stamps and More Blog started today with the topic CAS (clean and simple). Have a look, you can win something again.

Jetzt aber zu der Technik. Zunächst stempelt Ihr Euer Motiv in der gewünschten Farbe. Als nächstes stempelt Ihr den Text mit VersaMark auf eine stabile Folie oder auf ein anderes Material, welches eine glatte Oberfläche hat und das VersaMark nicht einsaugt. Dabei müsst Ihr ein wenig vorsichtig sein, denn der Stempel kann leicht auf der Folie verrutschen und damit die Schrift ruinieren. In dem zweiten Bild könnt Ihr den Schriftabdruck auf der Folie erkennen. 
But let me now explain the technique to you. First you stamp your image in the desired colour. Then you stamp the text with VersaMark on a stable foil or other material that has a plain surface and would not soak up your glue. You need to be careful with this step, since the stamp might glide a bit on the foil, which would ruin it. You can see the VersaMark text on the foil on the second image.

Dann nehmt Ihr widerum den gut gereinigten Motivstempel und drückt ihn in die Schrift auf der Folie (drittes Foto). Den Motivstempel mit der Schrift darauf dann wieder auf das erste Motiv stempeln (viertes Foto). Jetzt müsst Ihr den Schriftzug lediglich noch mit Embossingpulver bestreuen und erhitzen.  Ihr wundert Euch vielleicht über den extra Schritt, aber Ihr möchtet Euren Text ja auch gern richtig lesen können und nicht spiegelbildlich, gell? Ich habe kürzlich gelernt, dass es auch extra Stempel mit spiegelbildlichen Schriften gibt, so dass man sich diesen extra Schritt ersparen kann. 
Then you take your very well cleaned image stamp again and press it into the text on the foil (third photo). This text on image stamp is then pressed on the original image again (fourth photo). You pour the embossing powder on it and can heat it to result in the white text on your image. You might ask yourself why you need one extra step, but if you would do it directly, the text would be mirrored. I learned recently that there are stamps with mirrored text available with which you would avoid the extra step.

Und so schaut dann das Reh mit der embossten weißen Schrift aus, wenn es fertig ist. Das Geweih habe ich nachträglich mit einem Marker in einem dunkleren Farbton nachgezogen.

This is how the deer with the white embossed text looks like when finished. I used a darker marker to highlight the antlers.

Materialliste (die Dinge aus dem Stempellädle haben einen Direktlink wenn Ihr drauf klickt)
Supplies (there is a direct link to the items you find in the Stempellädle when clicking on them)
Stempel / stamps: Impression Obsession F9815; Anna Marie Designs Special Christmas, Dottie Wreath
Stemeplkissen / stamp pads: Memento rich cocoa; VersaMark; Archival Ink teal
Embossingpulver / embossing powder: Stampendous! detail white
Copic E81
Stampin Up Marker Early Espresso

An den folgenden Challenges möchte ich mit meiner Karte teilnehmen.
I would like to participate into the following challenges with my card.
Sunday Stamps
SSC113 - Colour Inspiration

Everybody Art Challenge
Challenge 343 - Herz, Stern oder Kreis
Basteltanten
Challenge #55 - Sterne

Donnerstag, 29. Oktober 2015

Spooky card box

Huibuhhhh!!!!!!! Heute spukt es hier auf dem stempelfrida Blog. Vielleicht hatten einige von Euch mitbekommen, dass Bettina und ihre Mama vom Stempellädle den Designteammitgliedern Überraschungspost geschickt hatte und darin befand sich unter anderem ein Geisterstanzenset von Impression Obsession. Nochmals meinen gaaaaanz herzlichen Dank dafür, das war eine tolle Überraschung! Auf der Lädle-FB Seite haben wir schon einige Projekte dazu vorgestellt. Heute kommt mein Beitrag für Euch. 
Huibooooh!!!! It is spooky on the stempelfrida blog today. Maybe you saw that Bettina and her mom from the Stempellädle surprised their design team members with some Halloween mail, which besides other goodies included a ghost dies set from Impression Obsession. Once again my sincere thanks for this great mail, what a wonderful surprise! On the Lädle-FB page we already introduced a couple of projects with these dies and here is mine.


Mein Projekt ist eine kleine Szenenbox, die ganz einfach zu machen ist und das tolle daran ist, dass sie als Karte mit Standardporto verschickt werden kann. Ihr benötigt einen Karton in den Maßen 30x21 cm oder eine Doppelkarte in den Maßen 15x10,5 cm. Für den Bogen würdet Ihr eine Falz in der Mitte bei 10,5 cm ziehen und je eine weitere in jedes der Rechtecke mit einem Abstand von 2 cm von den unteren Kanten wie im Bild gezeigt. Aus einer der großen Flächen schneidet Ihr ein Fenster der Größe 13x6,5 cm aus. 
My project is a little szene in a box, which is easy to create and the cool thing about it is, that you can send it as a normal card with standard fare. You start with either a 30x21 cm piece of  card stock or a 15x10,5 cm card. If you use the card stock piece, make a fold in the middle at 10,5 cm and one further fold in each of the rectangles with a 2 cm distance from the bottom parts as shown in the picture. Cut a rectangle of 13x6,5 cm out of one of the bigger areas.

Für den Hintergrund habe ich einen Fotokarton der Größe 14x7.5 cm mit drei Farben Stempelfarbe gewischt. Eine Baumreihe und die Fledermäuse sind direkt auf diesen Hintergrund geklebt. Diesen Hintergrund klebt Ihr innen in die Karte. 

I used a photo paper sized 14x7,5 cm for the background. I used sponges to apply three colours of stamp ink on it. The die cut row of trees and the bats are glued directly on this sky. Glue the glossy paper into the card.

Hinter das Fenster habe ich eine Baumreihe geklebt und auf den unteren Streifen eine weitere Baumreihe mit Pappstreifen befestigt, so dass sie ein wenig standfester werden. Die Geister habe ich mit einem Nylonfaden am oberen Streifen ebenfalls mit einem kleinen Streifen Pappe befestigt. Durch diese Anordnung bekommt Eure Box Tiefe und es entsteht eine schöne kleine Szene.
One of the tree rows is being attached directly to the back of the window and one further one is glued on the lower stripe with a piece of card stock to help the trees stand straight. I glued a nylon string to the ghosts and stuck it to the top stripe by putting another little stripe of paper over it to attach it to the top. This arrangement creates depth in your box and results in a nice little scene.

Dann kann der Spuk schon losgehen! 
Let´s spook!


Materialliste (die Dinge aus dem Lädle haben einen Direktlink wenn Ihr draufklickt)
Supplies (there is a direct link to the items you find in the Lädle when clicking on them)
Stanzen / dies: Impression Obsession DIE308-V; Marianne Design CR1287
Stempelkissen/ stamp pads: Ranger Distress chipped sapphire, dusty concord, tumbled glass 
Konfetti / confetti

An den folgenden Challenges möchte ich mit meiner Karte teilnehmen.
I would like to participate into the following challenges with my card.
Deep Oceam Challenge
Challenge #115 - Halloween
Stempelmagie
Challenge #120 - Herbst oder Halloween
QKR Stampede
Challenge #162 -Halloween
Bawion
Challenge 44-2015 - H wie Halloween

Mittwoch, 6. Mai 2015

Only go backwards to take a run-up

Heute habe ich ein Beispiel für eine tolle Technik für Euch. Sie wurde auf dem Kartenkunst Technik-Blog (Link findet Ihr unten) ausführlich beschrieben und es handelt sich darum, dass man bei einer Stanze nur die Hälfte stanzt. Wenn Ihr auch ein Beispiel macht, dann ladet es doch auch dort hoch. Ihr könnt auch wieder etwas gewinnen und braucht nicht einmal einen eigenen Blog um mitzumachen.
Today I used a new technique, that is being described in detail on the Kartenkunst Technique blog (link see below). One uses only half of a die for this technique to achieve great designs. If you create an example yourself, add it to the galery on the Kartenkunst blog for a chance to win a prize. You do not need to have a blog for this yourself. For the ones that do not understand German, the sentiment says "Never go back, but should you still do so, then your only reason should be to take a run-up".


Beim Spruch habe ich den Stempel zunächst in dem helleren Lilaton angefäbrt und dann anschließend die Ränder mit dem türkisblau. Einige von Euch werden diese Technik unter dem Begriff Rock´n Roll kennen. Häufig wird sie für nur eine Farbe genutzt, man verwendet dann zwei Farbtöne und kann so schöne Effekte erzielen. Der Ausdruck Rock´n Roll entstammt der Art, wie man den Stempel an den Kanten über das zweite, dunklere Stempelpad kreisend rollt, so daß der Farbauftrag nur am Rand entsteht.
Insgesamt ist das Design dieser Karte schlicht gehalten um dem CAS Anspruch einer Challenge gerecht zu werden.
I used the Rock´n Roll technique for the sentiment. You first use a lighter colour, which you add to your stamp and then take either a darker tone of the same colour or a different darker colour and add it to the edges of your stamp before you use it. The term Rock´n Roll relates to the way one moves the stamp over the stamp pad in the second step to only cover the edges with the darker colour.
Overall I left the design simple to accommodate for the CAS call of one of the challenges.

Ich habe die folgenden Materialien verwendet. 
Supplies:

Stempel / stamps: Kartenkunst (Spruch / sentiment; Musterstempel unbekannt / pattern stamp unknown

Stempelkissen / stamp pad: Stampin Up almost amethyst, Marvy Matchables #33 Oriental blue
Stanze / die: Stampin Up

An den folgenden Challenges möchte ich mit meiner Karte teilnehmen.
I would like to participate into the following challenges with my card.
CAS colours & sketches
Challenge #122 - The double
Kartenkunst
Technique - Stanz die Hälfte

Montag, 19. Januar 2015

Card in a box / Karte in der Box - Anleitung / how to

Wie ich es Euch versprochen hatte, zeige ich Euch heute die Anleitung zur Karte in der Box. Ich habe ein Exemplar gemacht, dass zu den Regeln der derzeitigen Challenge auf dem Colorthrowdown blog passt. Und nehme mit dieser Box daran teil. Die Box ist sehr einfach zu machen, hat einen tollen Wow-Effekt, kann aber flach wie eine Karte verschickt werden.

As promised, I am going to show you how to make a card in a box. I picked the colors so that I could participate into the current challenge of the colorthrowdown blog with it. The card is easy to make, has a great woah-effect and can be send flat as a card.


Dies ist die Herausforderung der Challenge. 
This is the color scheme for the challenge.
 
So schaut der Rohling aus. Auf dem zweiten Bild seht Ihr die Maße für ein Kartenstandardformat.
This is how the template looks like. You can see the measures on the second picture for a standard card size.

Schneidet das Papier wie auf dem folgenden Bild gezeigt und klebt es zu dem Halter zusammen, indem Ihr den rechten unteren Streifen mit Klebe verseht.
Cut the paper as shown on the picture and glue it to the box by adding glue to the little stripe on the bottom right.

Diese zwei Streifen (Gesamtlänge 7.5 cm, Länge der Mitte 5.25 cm, Höhe 2 cm) werden in die Box geklebt.
Glue these two strips (length 7.5 cm, middle part 5.25 cm, heigth 2 cm) into the box as shown on the picture.


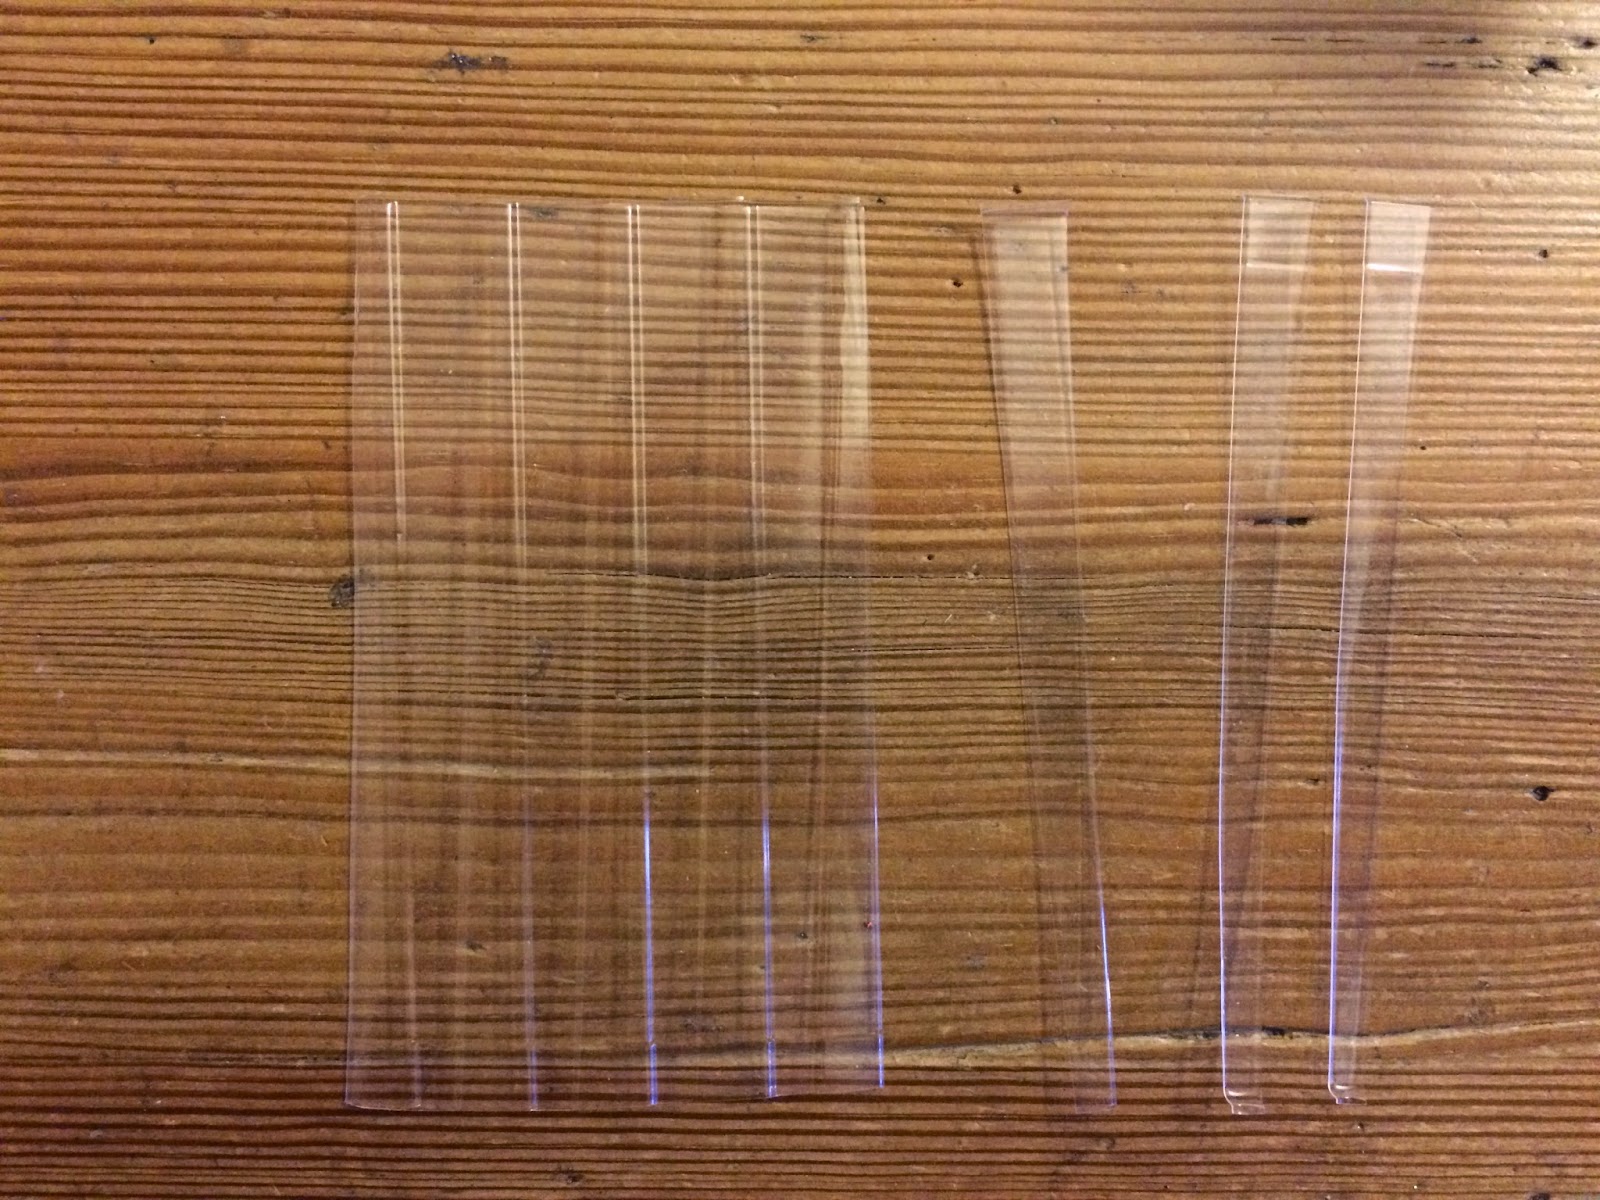
Für die Teile, die aus der Box ragen sollen benötigt Ihr durchsichtiges Plastik. Ich habe dafür beim ersten mal meinen Haushalt nach Verpackungen durchsucht und bin ich meinem Gemüsefach des Kühlschranks fündig geworden. Die Streifen habe ich von einer Paprikaschachtel geschnitten. Auf diese Streifen werden die Teile geklebt, die aus der Box herausragen sollen und die Streifen dann an die Halter im Inneren der Box geklebt. Beim Dekorieren der Box könnt Ihr Eurer Fantasie freien Lauf lassen. Möchtet Ihr die Box aber als Karte verschicken, müsst Ihr darauf achten, dass sie nicht zu hoch rausragen.

You will need stripes of color less plastic for the parts that are looking out of your box. When I made it the first time I scrolled through my fridge and found a box for bell pepper, from which I cut these parts. Glue the pieces of art that should look out of the box to those stripes and stick them to the inner part of the box. If you want to send the box in the standard format you will need to make sure, that the parts do not stick above the upper end of the box.


So schaut die box zugeklappt aus.
This is how the box looks folded.

Für diese Box habe ich eines meiner Lieblings-Sets von Stampin Up benutzt (Birthday Banter). Die Teile habe ich mit Copics koloriert (C2, C4, C7, YR16, BG32, Y15).
I used this great stamp set from Stampin Up called birthday banter for the decoration of the box. The parts are colored using Copics (C2, C4, C7, YR16, BG32, Y15).